Our third Quick gyro stabilizer installation here in Singapore is on a Sealine T60 powerboat.
The installation took about more than a week because there was a very tight installation space and the reinforced base required elevation. Here’s the details of the entire process:
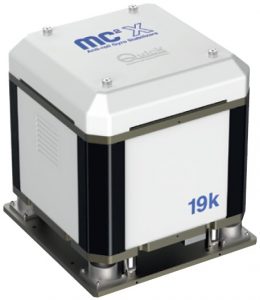
Gyro stabilizer details
Brand: Quick SpA
Model: MC2X 19k
Key specs:
– For boats weighing up to 30T
– 18700Nm output torque
– Weight: 553kg
– Size: 61 x 61 x 67cm (h)
– Power absorbed: 2.8kW max
– AC input voltage: 90-260Vac
Boat details:
Builder: Sealine
Model: T60
Build year: 2012
Full load displacement: 28T
Length overall (LOA): 17.97m
Waterline length (LWL): 15.55m
Beam overall (BOA): 4.85m
Hull material: Fibreglass
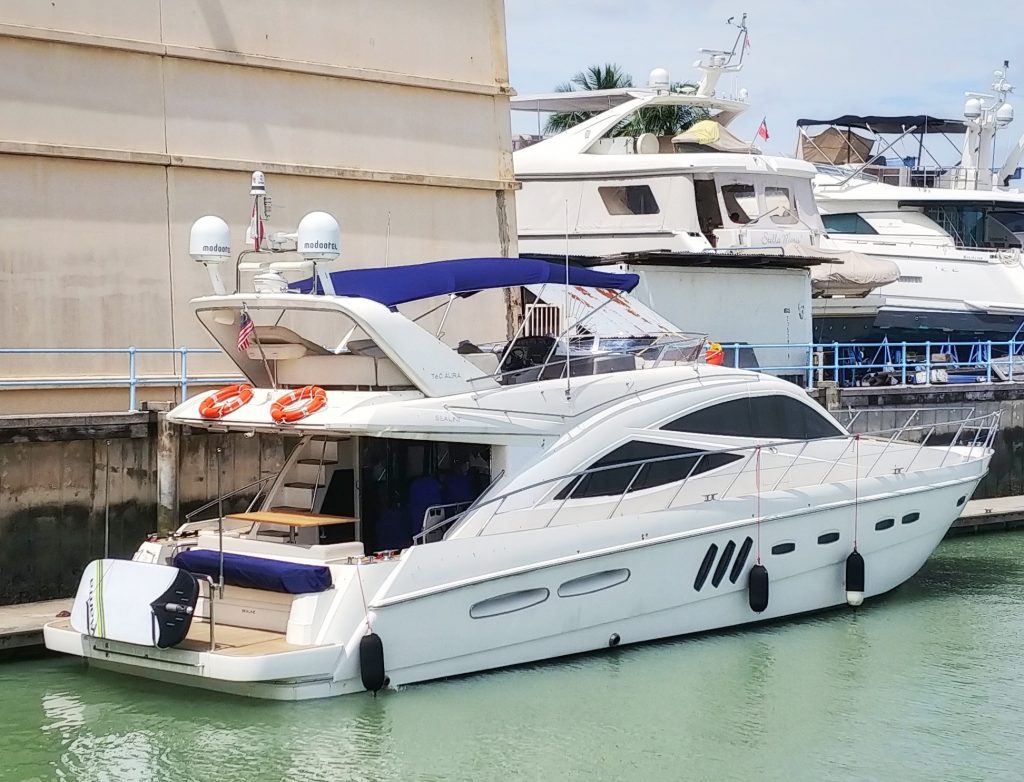
Boat overview:
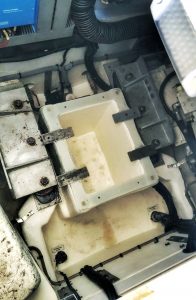
The boat has a space for our stabilizer in the mid-ship area below deck, but that space is very tight. Also, an elevated base has to built as there are other structures intruding into the space above the stringers as seen in the photo below.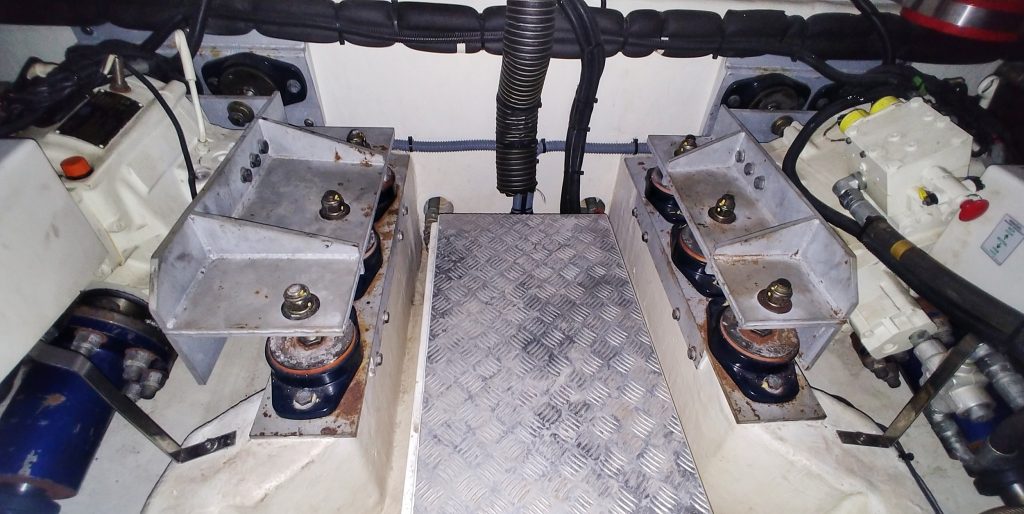
Installation step 1: Vacating the area for stabilizer entry
Area in between the 2 stringers had to be cleared for the stabilizer’s base to be built.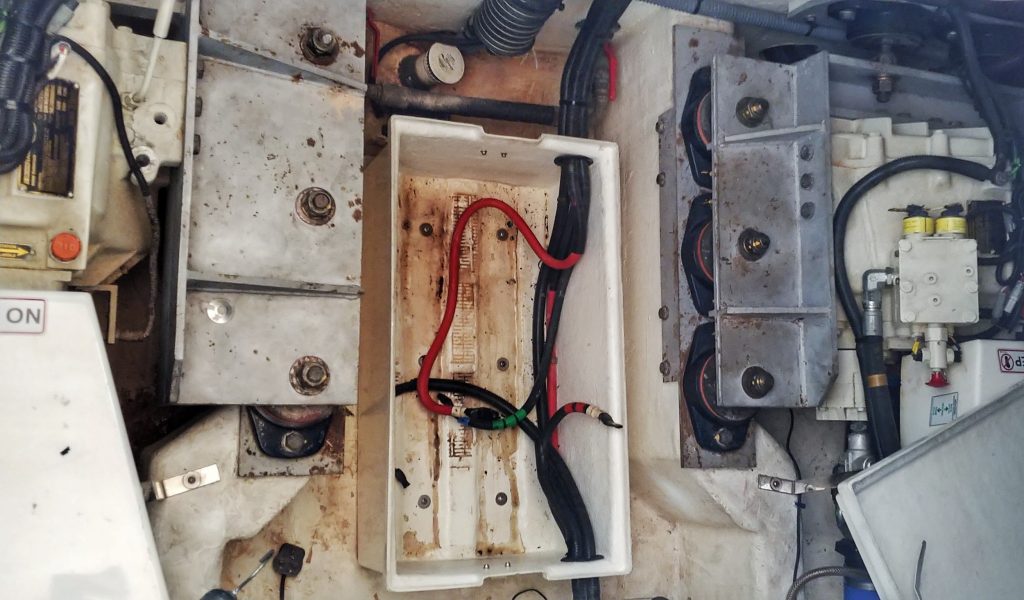
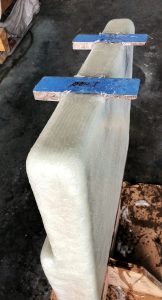
Installation step 2: Building the base
The base building for this installation is tricky as it has to rise above the intruding structures and at the same time, be glassed to the stringers and to the hull. This was achieved as shown in the photos below from left to right – fabrication of steel plates, fibreglass coating, glassing of entire structure to the stringers and the hull of the boat.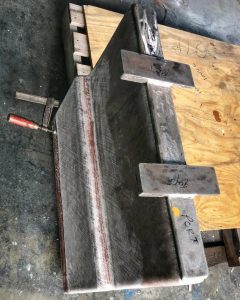
Installation step 3: Cutting a hatch on the deck & lowering the gyro stabilizer into place & mounting it into place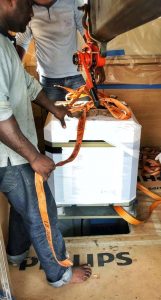
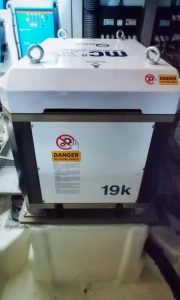
After the stabilizer is mounted onto the base as per photo above, what’s left is the installation of the driver unit and wiring it up and installation is complete.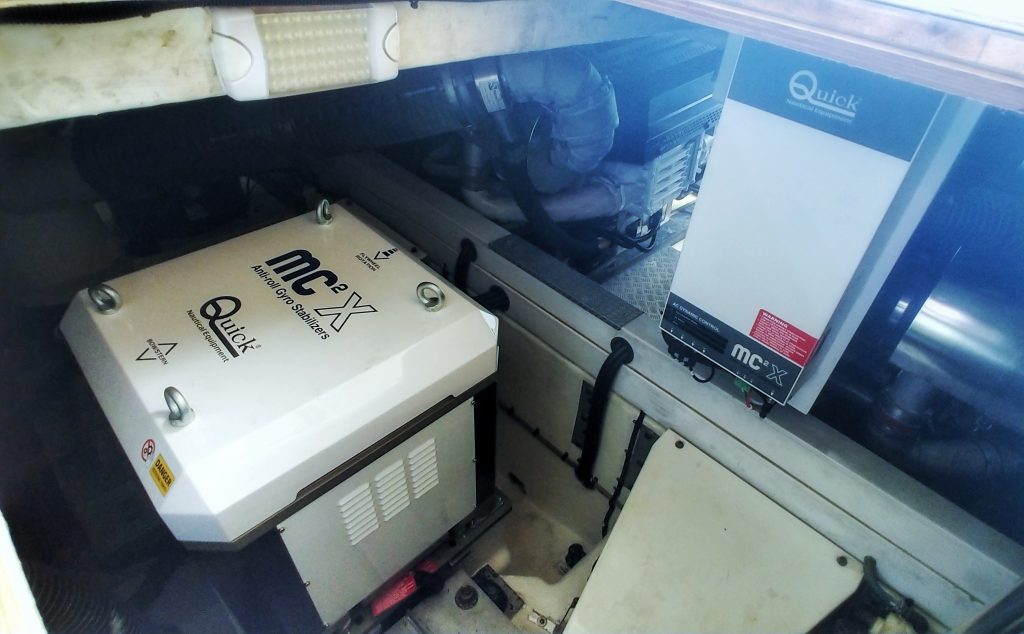
Installation complete!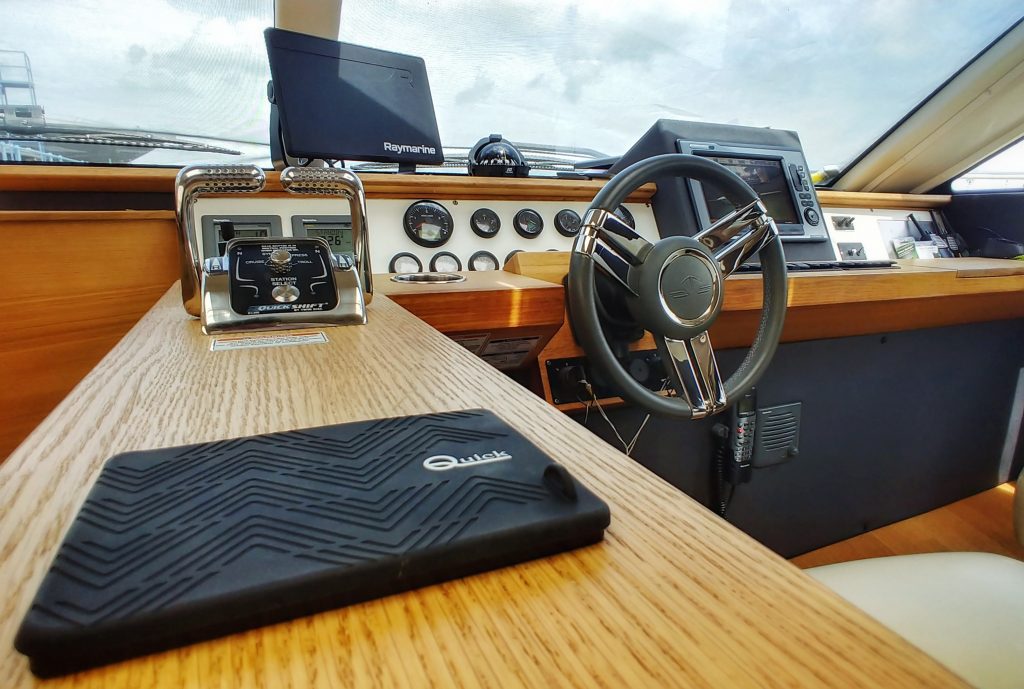 Touch screen remote controller for the gyro stabilizer at the bottom-left of the photo
Have a look at our sea trial post to see the results!


