This is the first Quick gyro stabilizer installation outside of our home-ground in Singapore! This MC2 X25 was installed on a Sunseeker Predator 52 in Phuket Boat Lagoon, Thailand!
The installation took about a week because there is a little bit of cutting involved. Here’s the details of the entire process:
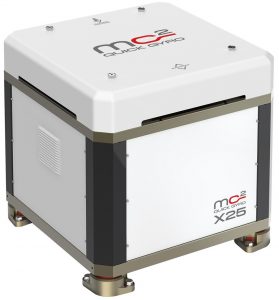
Gyro stabilizer details
Brand: Quick SpA
Model: MC2 X25
Key specs:
– For boats weighing up to 35T
– 25464Nm output torque
– Weight: 880kg
– Size: 80 x 80 x 84cm (h)
– Power absorbed: 4.5kW max
– AC input voltage: 200-240Vac
Boat details:
Builder: Sunseeker UK
Model: Predator 52
Build year: 2009
Full load displacement: 32T
Length overall (LOA): 52 ft
Hull material: Fibreglass
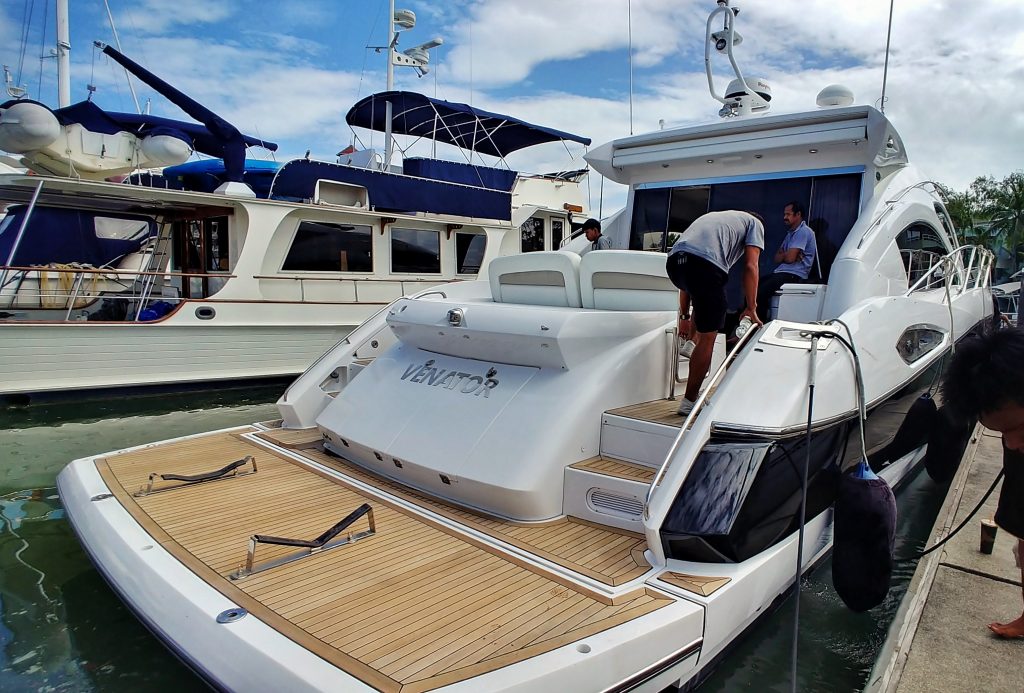
Sunseeker Predator 52, Venator
Boat overview:
The boat has a space for our stabilizer in the lazarette area below deck, but there is no space for the stabilizer to enter so the entire deck area has to be cut. As a result, the installation took about a week.
Installation step 1: Cutting of deck & vacating the area for stabilizer entry
As per all our gyro stabilizer installations, the area of installation has to be cleared and made accessible for the crew to build the base and do the wiring work. For this installation, the lazarette hatch compartment was removed so that they could start work.
Installation step 2: Building the base
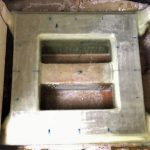
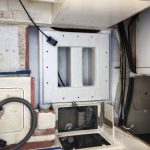
As always, best to have the installation of the stabilizer on the stringers. As our gyro stabilizer has a square base, the stringers need to be reinforced with perpendicular beams. From there, put a steel plate and glass it onto the hull and stringers as per photos from left to right below.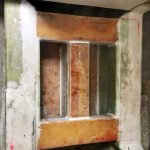
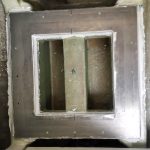
Installation step 3: Mounting the stabilizer into place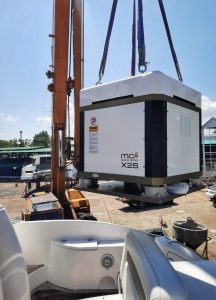
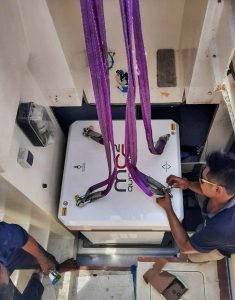
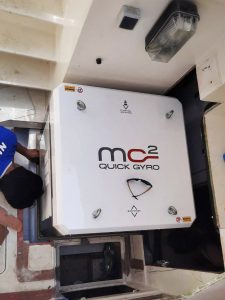
Installation step 4: Installation of the driver & touch screen control panel and glassing back of the lazarette hatch compartment
After the stabilizer is mounted onto the base as per photos above, what’s left is the installation of the driver unit, touch screen controller and wiring them up. Once done, plop the lazaratte hatch compartment back on and you’re done!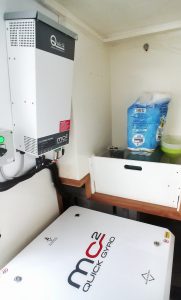
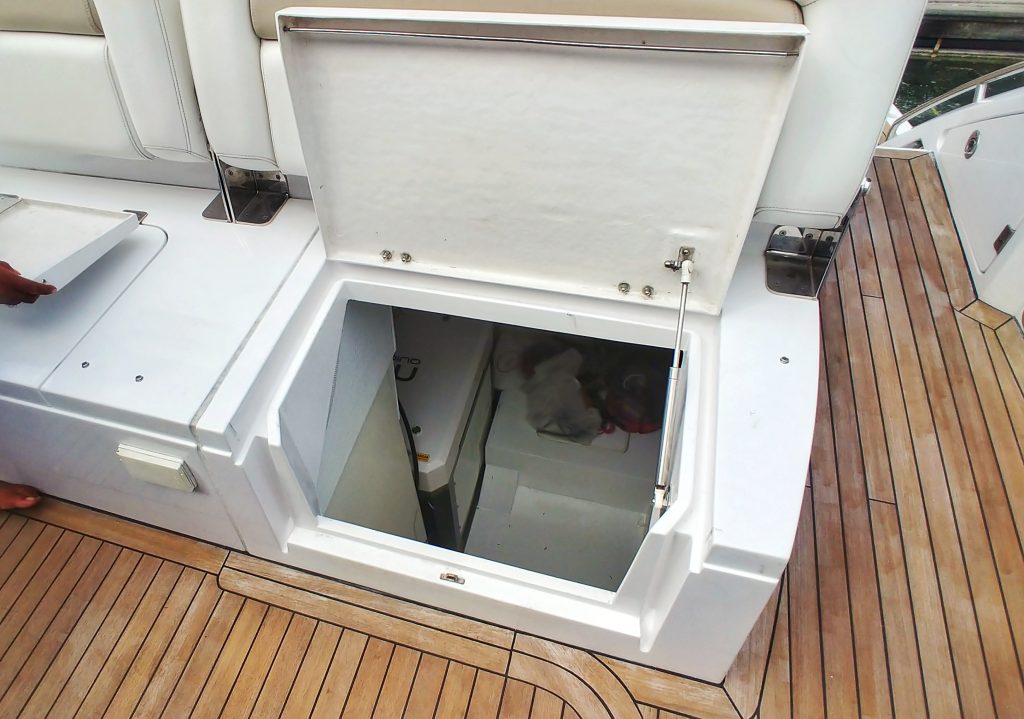
Installation complete!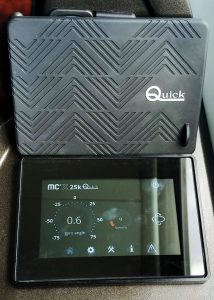
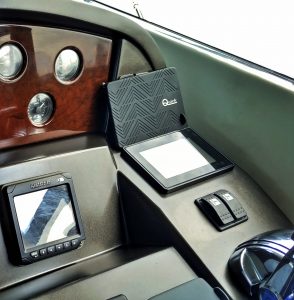
Touch-screen control panel installation site on the helm’s dashboard.
Have a look at our sea trial post to see the results!


