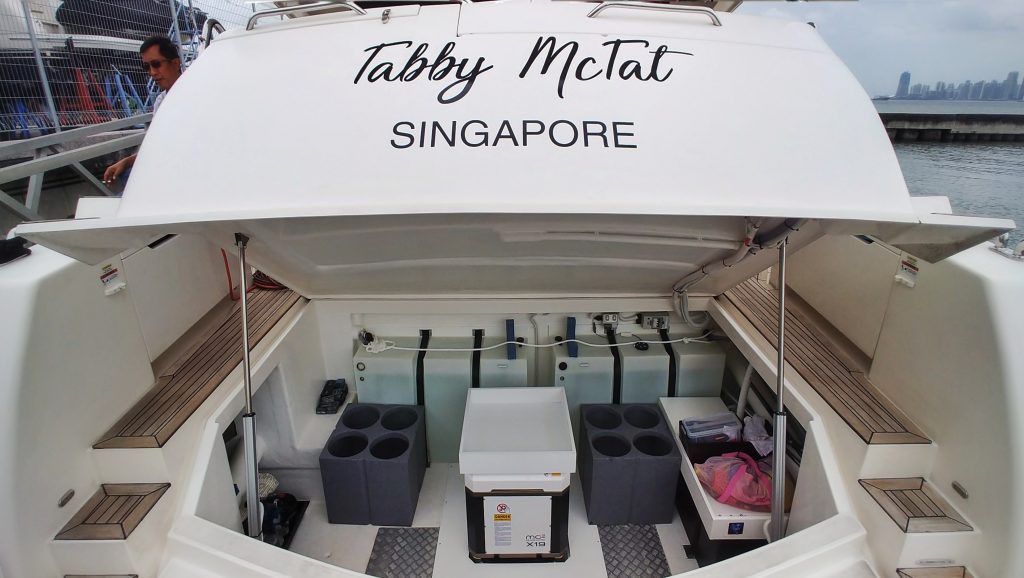
This installation took only a few days as the Maritimo M51 was designed with a huge space in the lazarette meant for gyro stabilizer installation.

Maritimo M51 “Tabby McTat”
Before we dive into the details, let’s have a look at the boat & stabilizer information below.
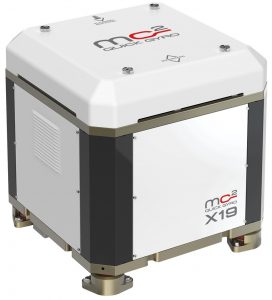
Gyro stabilizer details
Brand: Quick SpA
Model: MC2 X19
Key specs:
– 18700 Nm stabilizing torque
– Weight: 553kg
– Size: 61 x 61 x 67cm (h)
– Power absorbed: 3.5kW max
– AC input voltage: 200-240Vac
Boat details:
Builder: Maritimo Australia
Model: M51 (flybridge motor yachts)
Build year: 2017
Full load displacement: 24T
Length overall (LOA): 51ft
Hull material: Fibreglass

The most important part of the gyro stabilizer installation process is to build a reinforced base. Usually involves having a square-shaped metal plate glassed to the hull and stringers.

Once the reinforced base is done, it’s time to mount the MC2 X19 gyro stabilizer into place.

For this installation, the owner wanted to have a holder on top of the gyro stabilizer to put their items on top. This arrangement is fine so long only dry and light items are placed on top.

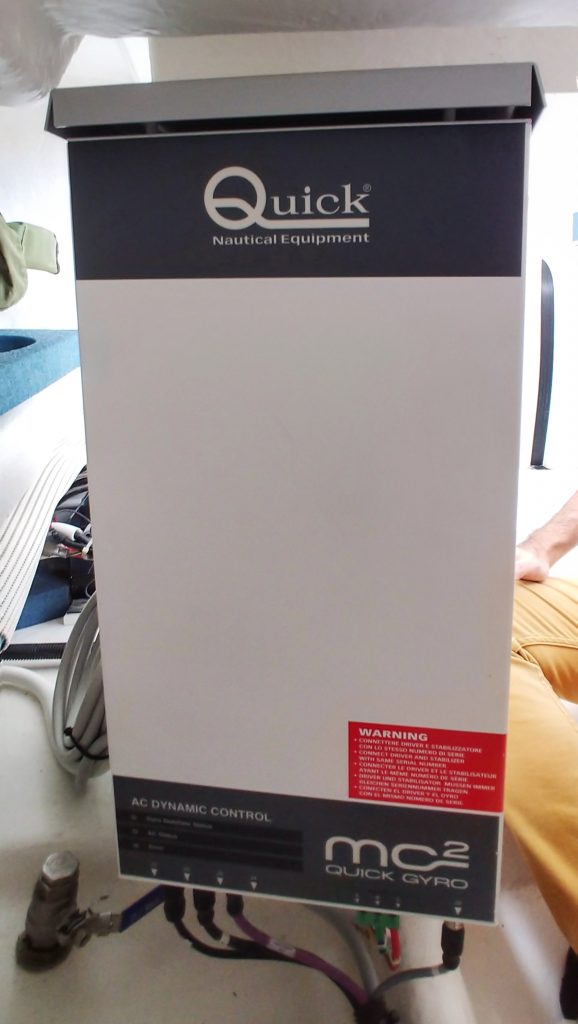
Now that the heavy & mechanical work is done, it’s time to do the electrical work – installation of the driver (aka AC dynamic control) for the gyro stabilizer. This was installed inside the lazarette as well – very near the gyro stabilizer.
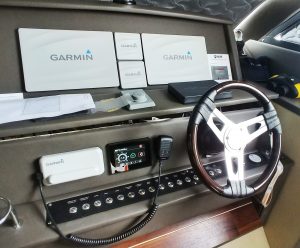
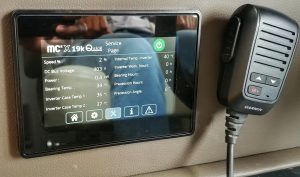
And finally, installation of the gyro stabilizer’s touch screen control panel at the flybridge helm.
Once done, the boat was cleaned up and the installation is complete!
Project stakeholders group photo 😀